Looking for some great party ideas? My sister, Angela, from the Mommy Stories just threw her son (my big guy nephew, Owen) a lobster themed one, in honor of my dad's profession: a Maine lobster man. Thanks, Angela, for showing us how to put the party all together, while keeping to a budget.

We knew early on in the year that he'd have an ocean party fit for a
lobsterman's grandson. Yes, that's right, my father is a true Maine
lobsterman.
My son is pretty obsessed with his lobster traps, bait, and of course those old bugs, lobsters! He's into the boat the most. We visit several times a year on Frenchboro Island in northern Maine, off the coast of Bar Harbor.
We HAD to have a party like this because of his interest, but also because my son's middle name Joseph is after his Papa (and my stepdad, grandfather and then my brother's middle name, but who's counting?!). It was super fun to honor my father's career as a lobsterman through this party. I told him he was the guest of honor.


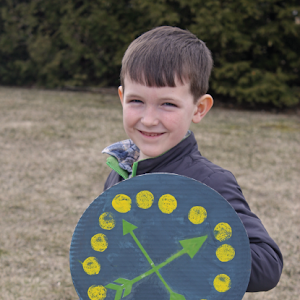
My handsome guy FOUR years old!

We visited the Children's Museum and Theater of Maine in Portland just before Christmas and my son didn't leave the real lobster boat the entire time. He loved it so much! It had a hauler to haul up the traps of lobsters. There is also a touch tank upstairs with star fish and snails, etc. There is a large whale hanging from the ceiling, a pirate ship out back, and another speed boat to ride on. It's a perfect place for an ocean party. He is also very into make believe lately and pretending he's a real worker, so it was an awesome location.
We always have had parties at our house, and with an immediate family of 30+ that doesn't leave room for inviting any other friends. So this year we were excited to do it at a larger place to invite a few extended cousins. We still tried to keep it to just family since it gets expensive with the party packages and paying per person at the Museum, but it was fun for my son to be able to invite a few more people to his party to play with him.

I start all birthday party brainstorming with some good old Pinterest searches.
Here is my board that I created with ideas for this party. I hope you check it out, because there were TONS more ideas that I did not implement. I chose to keep this party slightly simple since the atmosphere of having the party at the Museum was going to be enough. The kids barely were in the party room, they ran around the Museum so much playing and having fun. So check out the board for more ideas, especially if you're having the party at home.
www.pinterest.com/angelaavery78/owens-4th-lobsterman-ocean-party/
I have to say I had a difficult time finding ideas specifically for what I was looking for. I found one lobster party... one. All others were swimming, pool, sea life, pirate, etc. type parties. I had to get a little creative.
I sent an Evite email invitation with this wording:
"Owen's turning FOUR, and he would like to SEA you out on the ocean with him catching lobsters and fish.
Join us at the Portland Children's Museum for some make believe fun, with lobsterman Owen. Check out the live turtles and fish tanks, steer the real lobster boat and haul some traps, even touch a live starfish or sea urchin. Our lobster boy will show you the ropes!
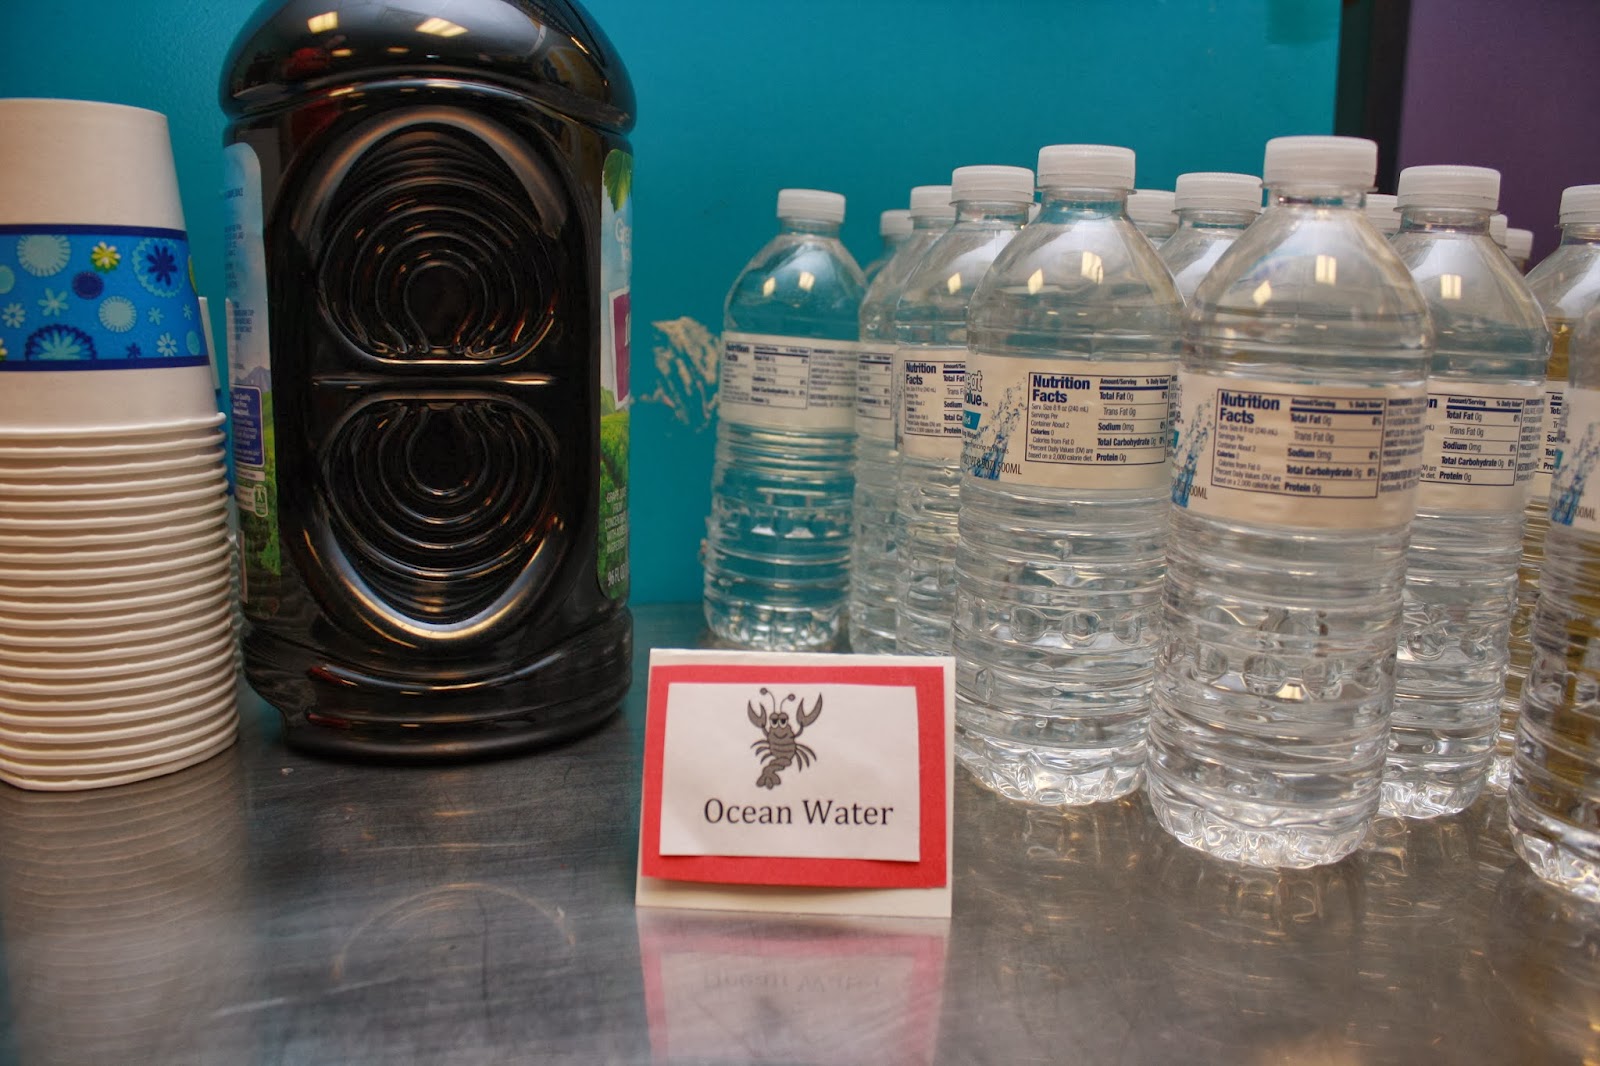
We'll have fishy snacks, lobster cookies, and ocean water to drink. Come have fun - and of course prepare to work a little with Captain Owen!"

I was given by my wonderful friend Jessie Legere some fish and ocean bowls, signs, a table cloth and banner (that I didn't use because the Museum had already put this blue one down and written on the chalkboard), etc. So I went with her colors of blue and greens as ocean colors.
I found those fun polka dot napkins at Wal-Mart. My son decided the day before the party he HAD to have party cone hats, so Jake and the Neverland Pirates hats it was (Wal-Mart, $2.50 for pack of 8).

We did minimal food, just snack type things, because we knew the kids would be so busy in the Museum. The focus was not on the food, but on the activities. So we had the following food:
Tortilla chips and Goldfish crackers = fish and chips
Salsa = seaweed
sea cucumbers = cucumber slices
buoys = cantoloupe balls and grapes
Pirates Booty
Shamu Whales cheese crackers
However, check out the Pinterest board I made, TONS of cute ideas for
food if you were doing this at lunch time or not at a busy Museum like
we did (Goldfish cracker shaped bread for sandwiches!)

Ocean water and grape juice

For treats we had confetti vanilla-based cupcakes with aqua blue frosting (that came with little fishies, which I didn't know until I got home from the store! Score!), topped with a Sweedish fish.

The birthday boy requested a chocolate cake, so we used the same aqua blue frosting, along with some gummy lobsters from Yummees candy store in Kittery, Maine. (Don't worry, they ship, if you are having a Maine-themed party outside of southern Maine!).


For gift bags for our little guests my husband helped me make these lobster bags. Yes, they took about an hour with both of us cutting out those claws, but they were too cute not to make so we did it! I got the red bags, pipe cleaners and googley eyes for $3 at the Dollar Tree, then we found lobster pictures online and my husband copied these and cut them out.

Inside the treat bags we put a small bag of Pirates Booty, bag of whale
and sea cheese crackers, a gummy candy stick of sea life creatures that
my husband randomly found at BJs (so excited!). I printed some coloring
pages off of the computer (boats, sea creatures, lobsters, lighthouse,
etc.). I always like to include things like that so if kids wanted to
color at the party they could, for some quiet down time, but also as a
fun way to really send home the theme of the party.

Then, my favorite part of the party, was the Sea Fish Bar (not sure what else to call this!). I found this idea on Pinterest, of putting out the various types of Goldfish crackers and letting kids fill up a bag of them. I then added in other treats to go with the lobsterman theme. Loved how this turned out!
Although, I'll admit, at a big busy Museum party it wasn't a great idea, only a handful of people actually filled up treat bags, they were too busy running around and playing. I ended up making up little treat bags for the kids to take home.

I got all the little red containers at the Dollar Tree for $2 total.


I was so excited at Christmas time when I found these Goldfish cracker small plastic bags in New York, totally randomly. They were perfect!


Herring = Sweedish fish


We had such a great time! My little lobsterman loved his party, cake, singing happy birthday to himself, and of course all of the make believe at the Museum.
We had the kids go play while we set the party room up (you only get 2 hours in the room, setting up and cleaning up included). They played about 45 minutes, then came to the party room where we had snacks ready for them. We sang happy birthday, blew out birthday candles, served up cake and cupcakes, then moved right into the presents so we could get them back out to play more for the last hour or so of the party. It worked pretty well.

We asked people to sign the L is for Lobster book. It's fun to have books filled with notes from loved ones on our book shelf. I threw that in as a last minute idea, and so glad I did.


The birthday boy with his lobsterman grandfather!

My husband found these adorable T-shirts at the last minute when he was picking up the lobster gummy treats. It's winter in Maine, not many tourists wanting summer lobster T-shirts, so they let him get one get one free, so 4 shirts for $20! So excited.

(exhausted at the end of the party. Not to self: take family picture BEFORE the festivities next year!)
My husband's says "Got lobstah?" Mine says "Crustacean Nation" and the kids had MAINE lobsters on theirs.

A very (busy, hard working!) HAPPY birthday boy!