Friday, October 17, 2014

Sleep, Are You There?

Hello friends! You may have noticed I've been a little absent these days.  You have this face to blame:

You see, friends, this baby DOES NOT SLEEP.  She just doesn't. I was one of those moms who were like, "oh, a six month old, yea they sleep, no problem."  I was wrong. Very wrong.  I jinxed myself when she was a newborn.  She would constantly sleep. I had to actually wake up her for feedings, she slept so much.  I thought we had it made.  But then, around three months, she just stopped sleeping, and I became a crazy person, desperate for sleep, bags under the eyes, hair never brushed, caffeine inhaling mother.

In an attempt to break her terrible habit of waking up every two hours, I asked some mom friends what to do.  This is my second baby, so I thought I knew what to do, after all, I've done this before.  My son slept from seven weeks on.  It was amazing.  This girl though is very different.  She's just too excited.  Here are some things I tried over the past two weeks and guess what...THEY WORKED!


1. White noise or music: My children are like me, they need some sort of noise to sleep. Sounds backwards but it works.  I sleep with a fan, my son does too.  Ada here enjoys the calm sounds of beach waves and/or some music to get her to sleep.  Her favorite song, for some reason is this.

2. Put them down while they are awake: this is something that took some time to work but now is great.  If I put her in bed while she's sleeping, she can't figure out how to get herself to sleep.  Putting her down almost asleep, awake, but not crying, works 90% of the time. 

3. Establish a routine: my son was not a routine based kid, and still isn't at age four.  Ada, however, is very routine. Each day, I am working on making her a schedule that looks something like this:

8:45-wake up

9:00-eat/play time

11:30-nap

2:00-wake up, eat, play

4:00-nap

5:00-wake up, eat, play

7:00-eat, bath, pjs

7:45-8:15-play time

8:30-eat, rock, snuggle, bed

Since I started doing a schedule like this, she has been waking up once instead of every two hours.  It's been glorious. 

Naps have been better too.  She used to only nap for spurts of 20-45 minutes, and now I can usually get two hours out of her, twice a day.  It is not an exact schedule, but an outline.  Take some time in the beginning to help her out getting used to it by being home for nap time and trying to keep it as routine as you can.  The more you stay on schedule, the more it will help them to do the same.

As I said before, this whole schedule thing is new to me.  I am fortunate to be a SAHM, so I can make her schedule around us, but if your baby is at daycare, try and get them on your schedule, or adjust your days home to what they are used to when they are there. 


This has made for a happier mom, but more importantly, a happier baby!


Thursday, October 2, 2014

Pinterest Pumpkin Craft


My son kept asking to do some Fall and Halloween crafts, so naturally we headed on over to Pinterest to see what we could find.  We found this pin and had so much fun making our pumpkins.

We did both the bottle cap ones, and the paper towel tube ones. I found the paper towel tubes pumpkins came out a little better, and were easier for him to color in.  I jumped on board and did some too! These can easily be framed, and the printable can be found here.

They can also be made apples by doing them in red and green, if you want to add some to your fall picture. It was fun, easy and he had a ball doing it.

To keep on our projects, be sure to follow on Instagram!

Wednesday, September 17, 2014

Gluten Free Tex Mex Mac n' Cheese


This recipe has been passed around from all my mama friends, and I've made a version of it that is gluten free and absolutely delicious.  It's easy, and can made into two meals depending on your family size.  I don't know the original origin of this recipe, but this is how I do it!

What you'll need:
-1 package of gluten free pasta (I use elbows)
-1 package of ground turkey (mine usually comes in 1.3 lbs packages) or a pound of hamburger
-8oz cream cheese
-1 c. ranch (I use Ken's)
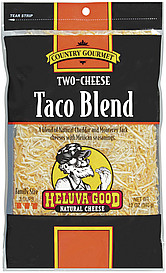
-3 c. shredded cheddar (I use Heluva Good Mexican)
-packet of taco seasoning
-16 oz salsa
-1 c. corn (I use a whole frozen bag)


What to do:

1. Cook pasta.
2. Cook the ground turkey with taco seasoning, like you're making tacos.
3. Mix cooked pasta with cream cheese, cheese and ranch.
4. Once turkey is cooked, add the corn and salsa, and mix.
5. Mix the pasta mixture with the turkey mixture and blend well. I also top it with cheese.
6. Put in baking dish and bake on 350 for 25 minutes.

I split mine into two meal, baking half in the above dish and freezing half.


For more dinner inspirations, follow on Instagram! @KnaptimeKnitter

Tuesday, September 9, 2014

DIY Kid's Vest


We love a good DIY project here at our house, and I'm thrilled when my 4 year old son gets involved. I recently found a denim jacket at a thrift store in my son's size and was really excited to make him a cool dude vest.  The jacket would have worked for a few months, but he's been growing like a weed, so we cut off the arms to make it a vest.

But did we stop there? No we did not.  Using some fabric paint we found at AC Moore and a some stencils we had on hand, we personalized his vest.

Total cost was around $5 since we got the jacket at a thrift store and used a coupon on the paint.  We worked together to stencil it, and practiced spelling his name while stenciling.  We let it dry outside and he was able to wear it about 20 minutes later.


Thursday, August 14, 2014

5 Quick Steps to a Clean Bathroom

We are deep into potty training mode and that means the bathroom my little guy uses is, well, not as spotless as I'd like. With a new baby, and two dogs also thrown in the mix, its tough to keep up! But bathroom clean up doesn't have to take forever.


Step 1: Take a look around. See anything that has made its way into the bathroom that doesn't belong? (examples include but are not limited to: shoes, blocks, Ninja Turtles, crayons). Recruit your little ones to help you and put that stuff away.  If you're short on time and minions, toss it in a basket and put it in the room they belong in. Maybe they will magically get put away?

Step 2: Toilet time. Throw the bowl cleaner in, give it a good scrub down and then clean the outside with either a Lysol wipe or spray.  I like to use something that smells fresh so I really feel like its doing the job. Yes, I know, it's probably working the same as non yummy smelling ones, but its a treat for my nose.  This is also when I wipe down any surfaces, and the sink.

Step 3: Remove all garbage and line the trash can with two or three plastic bags to make it easy to dispose of the full bag and the next is already in place.

Step 4: Forget the broom and grab the vacuum.  I use the hose and brush on all my non-carpeted floors and it makes it quicker and does a much more thorough job.  Use the brush to get the corners and the parts of the toilet where dog hair and dirt tends to congregate too.  

Step 5: If time allows, I use a sponge to mop so I can really scrub, but if you're short on time, do a quick mop, let it dry a minute or two and do it once more.  I use Gain Mr. Clean All Purpose in a big thing of super hot water. It smells amazing and shines when I'm done.

Oh, guess what! You're done!

You may notice I skipped the hamper and shower/tub.  I empty the hamper as it gets full and toss a load of laundry in, and the showers I don't do every time I bathroom clean.  Typically, unless they are super dirty, I do those every 3-4 bathroom cleans.  Or I ask (demand) my husband do them, because I hate that job.

Saturday, July 19, 2014

Gluten Free Shake n' Bake Chicken

Remember Shake n' Bake? So easy to throw together and so delicious. I wanted to try a gluten free version and this one came out amazing. So easy and quick to make and it makes a lot of the mixture so  you can store some for later.


I followed the recipe almost exact, only I used chili powder instead of cayenne and onion powder instead of flakes because it's what I had on hand.  Recipe taken directly from The Black Peppercorn.

  • 3 cups bread crumbs
  • ¼ cup vegetable oil
  • 1 tbsp salt
  • 1 tbsp dried onion flakes
  • 3 tsp paprika
  • 2 tsp sugar
  • 1 tsp garlic powder
  • 1 tsp black pepper
  • ½ tsp cayenne pepper
  • ½ tsp dry parsley
  • ½ tsp dry basil
  • ½ tsp dry oregano
I let Atticus shake it up in a Ziplock bag and then baked on 400 for about 20 or so minutes. The mixture stayed on it great and it was moist and delish. Atticus enjoyed it too!


Thursday, July 3, 2014

My Adventures in Cloth Diapering


When I was pregnant with my daughter, who is currently 3 months old, I decided I wanted to cloth diaper.  The reason was simple really: I wanted to save money.  I thought my husband would be happy with this, after all, money is to be saved! But he wasn't.  He didn't want the hassle of extra laundry and definitely didn't like the upfront cost of cloth.  I assured him, it would save money, just give it a try. He agreed (probably because I was so incredibly lucky that my sister's friend provided me with everything I needed to get started). 


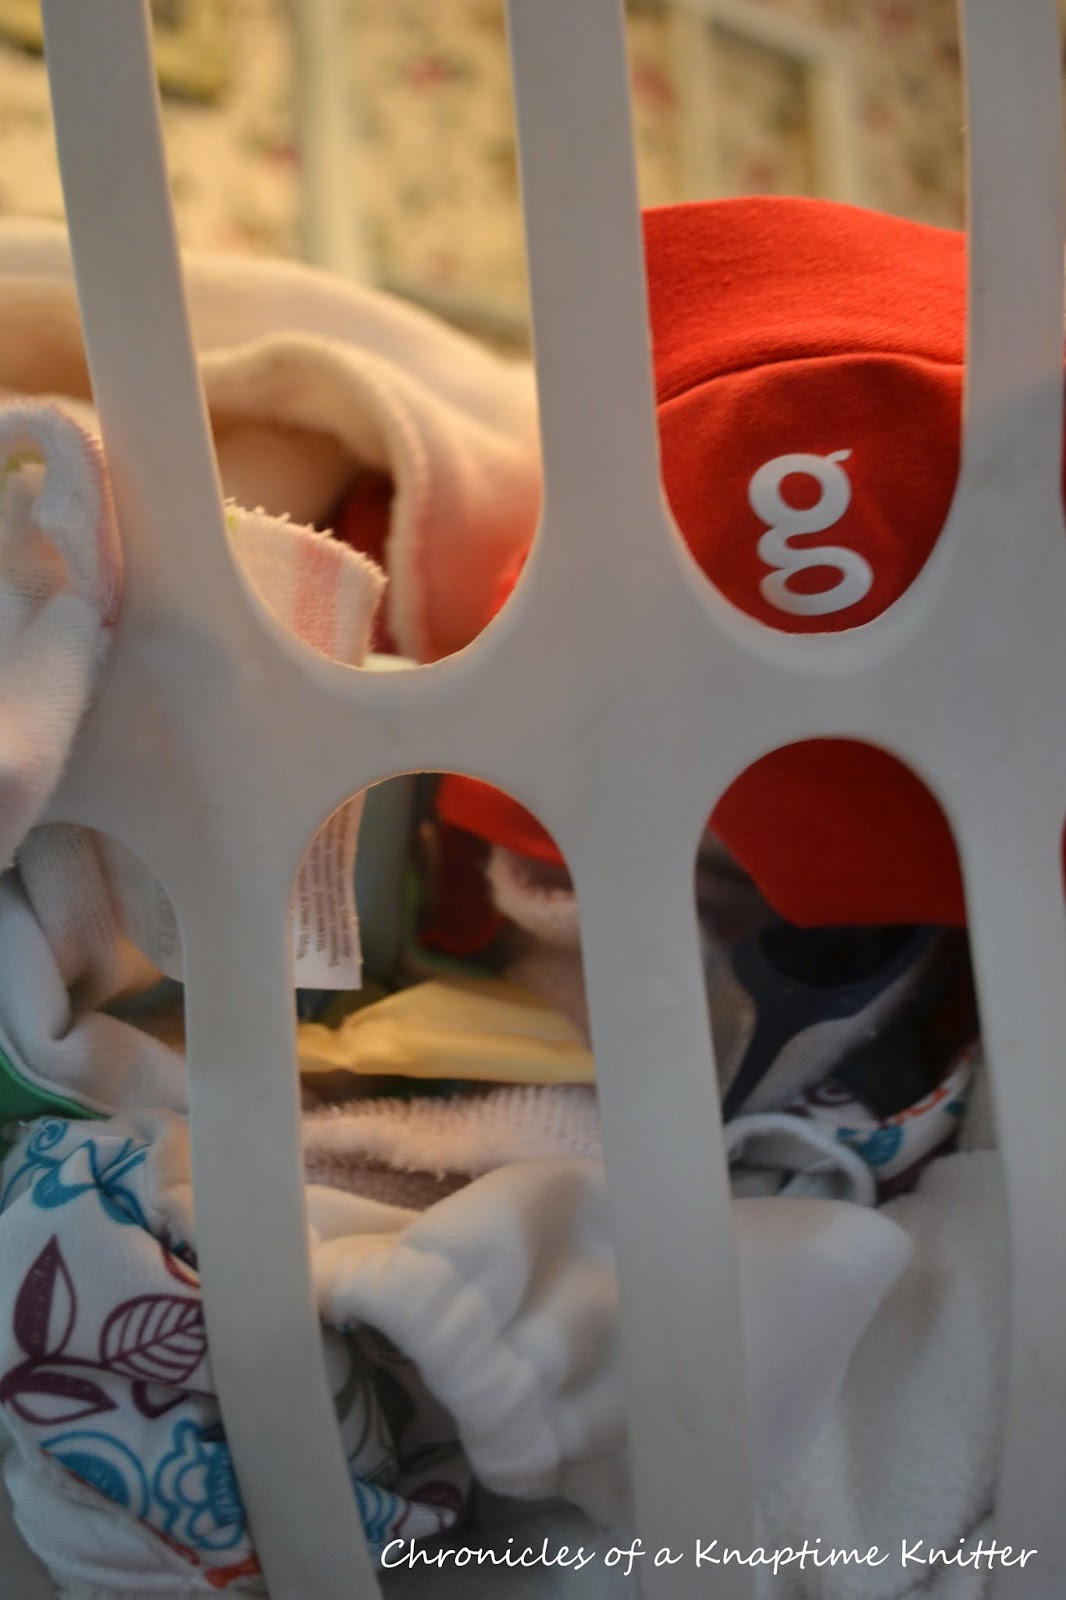
So, there I was, a newborn baby in hand and a pile of  gDiapers on the changing table.  So, what do I do now? I'm not going to play it cool here, I was confused about even the most simple principles of cloth diapering.  I had never used them before. To answer my questions, I did what I always do: I did some research and asked other moms.  Hopefully my experience can help you along with your adventures in cloth diapering!

1. First things first, how do these things work?
I am using gDiapers, mostly because they were given to me, but also because I like them.  I do use some Bum Genius as well, which I also like.  For the g's, you do have some work involved with assembling them each wash, but because you swap out the liners during the day, you don't have to wash the actual diaper part each time there's a messy or wet diaper.  Also, the g goes on the back, which is opposite of what I thought!  The Bum Genius have a cloth insert to catch all the wet, but the whole diaper does need to be washed each time.


2. How do I wash them?
The first thing I wondered, was what kind of detergent do I need to use on these and will that be expensive? I did some research on the best and worst detergents to use and found that Gain is the worst, and that Honest Co. is the best. I already get my Honest Co. supplies every six weeks so this was perfect!  It's what I've used on the diapers ever since and works great.  A little goes a long way, which is wonderful, because you only need a couple tablespoons per load. 

Without subscribing to the bundle, it is $12.95 for a bottle.  Pricey, yes, but you only need a little.  I use this on the baby's clothes too, so the bottle lasts awhile since I'm only using it on this.  If you get the bundle, you get 5 full sized items for $35.95, so you can save by doing this.  

Also, Target just announced that have Honest Co. in stock, so you can try it out without subscribing to anything.

I'm sure everyone has different ways of washing and used different products, but this is what I do and what works for me.  I wash every couple days.  We part time cloth, using disposables during then night and if we are out and about.  90% of the time, however, its cloth.  When I am ready to wash a load, I add about two tablespoons of detergent and wash on the warm cycle, all of it thrown in together, including my cloth wipes (which are mostly just baby wash cloths).  Once that cycle is done, I do another wash with no added detergent, on the hot cycle.  When it comes time to dry, I air dry the plastic inserts and toss the rest in the dryer on the regular setting, with a big towel in the dryer with them to soak up some of the moisture and make them dry faster.  Or, line drying is always great, too.

**Be sure to close the velcro tabs before washing or they will be a tangled mess!**

To avoid the staining and ruining of the diapers, it is advised that you don't use diaper cream or anything with them, but since starting them at about a week old, my girl hasn't had many rashes, compared to those she was getting with disposable (poor girl with her sensitive skin!).


3. How are the dirty diapers stored between wash days?
This took some trial and error on my part, and I haven't perfected my method yet. I started with a bin, with the lid on, thinking that would do the trick, but it got very smelly in there when the lid was removed. I switched to a lidded trash can with a mesh laundry bag inside. When wash times comes, I wash the laundry bag with it too.  I am going to upgrade to a wet bag soon, I just haven't gotten around to it.

4. What about cloth wipes? How do those work?
I began cloth wiping from the start because my kids tend to have sensitive skin.  With my son, I cloth wiped for the first few weeks and then switched to sensitive wipes.  My daughter has used cloth for the most part and free and clear wipes when I am out and about.  To make the wipes solution, I mix:

-1 cup warm water
-1 tbsp baby wash
-1 tbsp baby oil

I gently mix it and add it to a container or spray bottle.  I prefer the spray bottle, but it does get clogged with the baby wash sometimes.  I used Honest Co. but any kind you use on your baby at bath time is great. I used what I had handy and what I knew didn't upset her skin.  I have heard coconut oil works well instead of baby oil.  When a cloth is used, I toss it in with the diapers to be washed.

For the actual wipes, I made some, and also use little baby wash cloths.  


4. Why cloth diaper and wipe?
For me, it was to save money.  Yes, the environmental reasons are great too, but I mostly wanted to cut down on cost.  Babies use a lot of diapers and if I can cut down on how many I purchase, that is reason enough for me.  Sure, my electric bill might be slightly higher with the extra laundry, but not enough that I have noticed it.  Here is some great information on cost and cloth diapering in general.

5. But isn't it a pain to constantly be washing?
Yes, and no. Sometimes, it is annoying that I have extra laundry to do.  But at the end of the day, I have a ton of laundry, constantly, anyway, so its not that big of a deal for me.  I am home with my kids, so it works for me.  I can toss them in the laundry during nap time, no problem. It has just become routine for me, and honestly, not having to buy diapers often is a huge relief. My husband has come around on using them, as long as he doesn't have to wash them, which I agreed to.  But the long and short of it is, they work for me, so I'm sticking to it.  My girl is breast fed, so it makes the yucky diapers easy to clean, which is great.  We'll see what happens the food starts!

As with all things parenting, I am still learning this system, but am here to answer any questions I can about my experience.  I'm sure everyone does this different, and that's ok! Do what works best for you and your baby and feel free to comment with or message me with questions, that I will do my best to answer.

Saturday, June 7, 2014

This Week's Meal Plan

Here's what I have planned for the week!  I like to plan out my week of dinners so I can look for coupons and then grocery shop. Doing this helps me stay on track with what I need at the grocery store, and helps reduce impulse shopping with racks up that grocery bill!  I also like to use what I have in the house, so as much as possible, I use what I have before buying ingredients.


Saturday: Chicken Kabobs on the grill

Sunday: Corned Beef & Cabbage (because I have a ton in my freezer)

Monday: Sheppard's Pie (with sweet potatoes and turkey burger)


Thursday: Burgers on the grill

Friday, June 6, 2014

Your Pins Tested! Skinny Chicken Broccoli Casserole

I'm not a big broccoli person, but I try my best to eat it since its so good for you.  Atticus isn't really into it, either, so I was surprised at how much he enjoyed this meal.


I found this casserole from this pin and you can also find it on my food board on Pinterest.
You can find this recipe here.


The only thing I added to the recipe was a little garlic salt. Next time I make it I'll add some minced garlic when cooking the onions and mushrooms and I would have used a little more chicken.  Also, I used sharp cheddar cheese instead of Mexican blend.

To make this gluten free, like I did, substitute Bob's Red Mill All Purpose Gluten Free Flour instead of regular flour.  

Feel free to send me recipes on Pinterest!  Follow me here.

Friday, May 30, 2014

A Week of Dinner Ideas

Now that things are settling down with our two month old baby girl, I'm getting back on track with my meal plan, couponing and budgeting.  I also want to re-fill my freezer.  What a time saver having those meals ready to go in the freezer!  Since I'm grocery shopping this weekend, here's my list of dinners for the week:

Saturday: Oven Tacos with Mexican Sweet Potato Skins

Sunday: Lemon Chicken Fettuccine

Monday: Homemade Pizza

Tuesday: Chicken Salad Sandwiches with a Garden Salad

Wednesday: Skinny Chicken Broccoli Casserole (double, so I can freeze one)

Thursday: Leftovers

Friday: Lasagne (double, so I can freeze one)


Thursday, May 8, 2014

Crooked By Design is Turning 2! Win a Free Hat to Celebrate


Crooked By Design is turning 2 on May 27th and as a THANK YOU! for all you do support my craft, I'm giving away a free hat.  Enter below for your chance to win! Winner will be selected at random on May 27th at 5:30 pm and chooses any hat from the shop as a prize. 

*the winner be notified by email and announced on the shop's Facebook page. Your email is used only for this purpose and not added to any sort of email mailing list or anything like that!

Photo credit: The amazing TDBimagery

  a Rafflecopter giveaway
© Chronicles of a Knaptime Knitter. Made with love by The Dutch Lady Designs.
01 09 10