Monday, January 13, 2014

This Week's Meal Plan

I have been reading a lot about the benefits of meal planning.  It saves time and money and basically just makes life a little easier (at least that's what they say).  Over at the Mommy Stories, there are some great tips on getting started, but since I am gluten free, I have to alter my menu a bit because some items, like pasta, can be very expensive and not conducive to a budget friendly plan.

My goal here was to plan meals that the whole family likes, some with leftover potential for lunches and at least one new recipe.  My family is small, so I don't need to worry about huge portions and often split the meal and toss half in the freezer.  If you have a bigger family, you could opt to up your portions and do that as well.  I also wanted to use some of the ingredients I had on hand, so some of our choices were based on that.


Here's what our week looks like:

Monday: French Onion Soup and Garlic Bread (I use my own gluten free recipe for the soup and will make some bread machine bread to go with it)

Tuesday: Taco Tuesday (Atticus' favorite day)

Wednesday: Slow Cooker Italian Chicken, a new recipe I found from this Pin.  I love a good slow cooker meal, and this seems simple and delicious. I'll let you know how it turns out!

Thursday: Spinach Lasagne (this is my weekly girls night, so I planned a slightly bigger meal for sharing)

Friday: Pizza (using this recipe)

Saturday: Sandwiches using whatever we need to use up in the fridge

Sunday: Leftovers

After I planned out the dinners for the week, I made a list of what I needed to get, and then headed over to Coupons.com to see what I could find for coupons.  Grocery shopping with a very specific list in hand is a great way to avoid those unnecessary purchases and makes it easier to stick to a budget. 

Sunday, January 5, 2014

7 Day Challenge to Organization-January Edition

I always begin the new year with the goal of getting organized and to spend less time cleaning.  It works for about four minutes, and then comes undone.  This year, I'm doing it! To help, I have come up with a 7 day challenge to do this week, in hopes of tackling some projects that get put on the back burner, and to make my life easier.  Here's what this week's challenge holds:


Day 1 (Monday):
Organize those recipes! I just got a new recipe binder, but I stuffed it with my food covered, ripped pieces of paper and it just doesn't make any sense. I can't find anything and it's just chaos. So day 1's challenge is to clean this up and get it all organized, maybe even add a recipe or two it.

Day 2 (Tuesday):
Tackle a closet.  Any closet. I know you have one in your house too, the one that is overflowing and bursting with who knows what.  Clean it out.  Organize it. Toss stuff.  Donate stuff. Get rid of it, or put it where it needs to go.

Day 3 (Wednesday): Make 5 freezer meals to have ready for another day.  I personally love making freezer meals, and they come in so handy, especially if I can throw them in the crock pot when its time to use them. 

Day 4 (Thursday):
Tackle a pile.  I know you have one.   A laundry pile, a magazine pile, an ironing, pile, toy pile....find it and take care of it!

Day 5 (Friday):
Clean out and organize your towel/linen closet.  If its ripped, either toss it or make it rags.  Old ratty towels, toss them.  Sheets that have been around for a hundred years, toss them.  Fold, organize, make it pretty in there.

Day 6 (Saturday):
Clean out your fridge.  Throw away anything that's gone bad, use up anything you can (make a soup, or have a leftover free-for-all dinner) and clean it top to bottom. 

Day 7 (Sunday):
De-clutter! Go through each room in your house and get rid of at least item you don't want, use or need. 

I'll keep track of my progress and let you know how it goes, and please share your progress too!  Have an idea for the February edition?  Feel free to comment or give a shout.

Saturday, January 4, 2014

Caterpillar Craft (thanks, Pinterest!)


It's freezing out here in upstate NY, so we have been looking for fun things to keep us (him) busy in the house.  This caterpillar project, found from this Pin was just the thing for my three year old.  We have been working on learning numbers and letters, and how to spell his name, so this was a great way to practice these things, while having fun.  

Here's what you'll need:
-construction paper
-pipe cleaners
-a marker
-scissors
-glue stick

We started out by writing his name and having him spell it out to me.  He has a hard time physically writing it, so we worked together on the letters.  He counted how many circles he would need (one for each letter of the name, plus the head) and he chose the colors he wanted.  Once I cut them out, he got to glue, which is basically the coolest thing ever to him.


Next, he drew the face and we worked together to add the legs and antennas.  When it was all assembled, we wrote out his name together, spelling it aloud with each letter and then turned it over, counted the circles and numbered them.

He was thrilled with his colorful little friend:


*To see more projects, follow on Pinterest!

Saturday, November 30, 2013

Small Business Saturday 2013

Growing up, I was always involved with small businesses as my family owned not one, but two. Because of this, I not only learned the hard work and dedication that goes into owning a business of any size, but I also learned how much it means to the smaller businesses to have your support.  Being a small business owner of my own now, with Crooked By Design I am so grateful for everything you do to keep my passion alive and thriving. 


Be sure to check out the Crooked By Design Facebook Page for today's coupons, but also, check out these amazing small businesses too!  Grab a coffee at your local shop, eat at the non-chain restaurant. Every little bit helps!

-For amazing beach jewelry, my go-to shop is Seaside By Arlene.  She makes all her jewlery from awesome finds off the beaches in Maine.  I love her work, and I know you will too.

-For handmade banners and party supplies, my favorite shop is Signed & Sealed. This super mom creates all her items by hand is takes custom orders too. Our banner was a hit at my guy's birthday party!

-For all natural bee products, handmade in my hometown of York, ME, check out The BeeCH Co. These moms specialize in natural beauty products and I have only heard raving reviews of them.

-For hands down the most incredible balsamic vinegars and olive oils, Saratoga Olive Oil is the place to go.

-For all your Mary Kay needs, hit up my gal Susan at her site http://www.marykay.com/sbaurle/


Have a small business or shop of your own? Please comment with a link!!

Saturday, November 23, 2013

Your Pins Tested! Sweet Hawaiian Crockpot Chicken

As promised, I am testing out pins and sharing them here.  There are so many, that choosing one really is a hard thing to do! This one, however, was an easy choice because it was quick to put together and I had all the ingredients on hand.  Oh, and in case you are wondering, it was so so so delicious and 3-year-old Atticus approved!

*feel free to send me pins you want me to test out!  You can also follow my pins with the link to the right


I don't know where this recipe originated from, but I found it from this pin. Of course, because it's something I always do, I changed a couple little things to make it suit my family, as you will see from the original recipe vs. mine.

What you'll need:
1 can pineapple chunks
1/2 c. packed brown sugar
1/3 c. soy sauce (I use a gluten free one, of course)
2 lbs chicken (I used three chicken breasts), cut into small pieces


Toss it all in the crockpot, on low, about 6-8 hours until the chicken comes apart easily with a fork. 

I wanted mine a little thicker, so about 20 minutes before I planned on eating, I added a little corn starch and stirred to thicken it up a bit.  It was so easy and so good!


Monday, November 18, 2013

DIY Laundry Detergent

One of the biggest grocery expenses for us is laundry detergent. I have sensitive skin and tend to be a allergic to some brands, so many of my detergent purchases have been a waste of money when I realize I can't use them.  So when my sister from The Mommy Stories did a series on money saving DIY things, I was intrigued by this laundry detergent.  Because of my skin, I tested her's out before making a batch of my own, and I loved it!  My clothes smelled yummy, were clean, soft and the best part of all: a batch costs an estimated $2!

What you will need:

The initial cost is about $10, but you only use a little bit of the washing soda and Borax, so they last awhile.  The washing soda was a little hard to find, but I did end up finding it at Hannaford, and I have heard that Wal-Mart and Target usually carry it too.

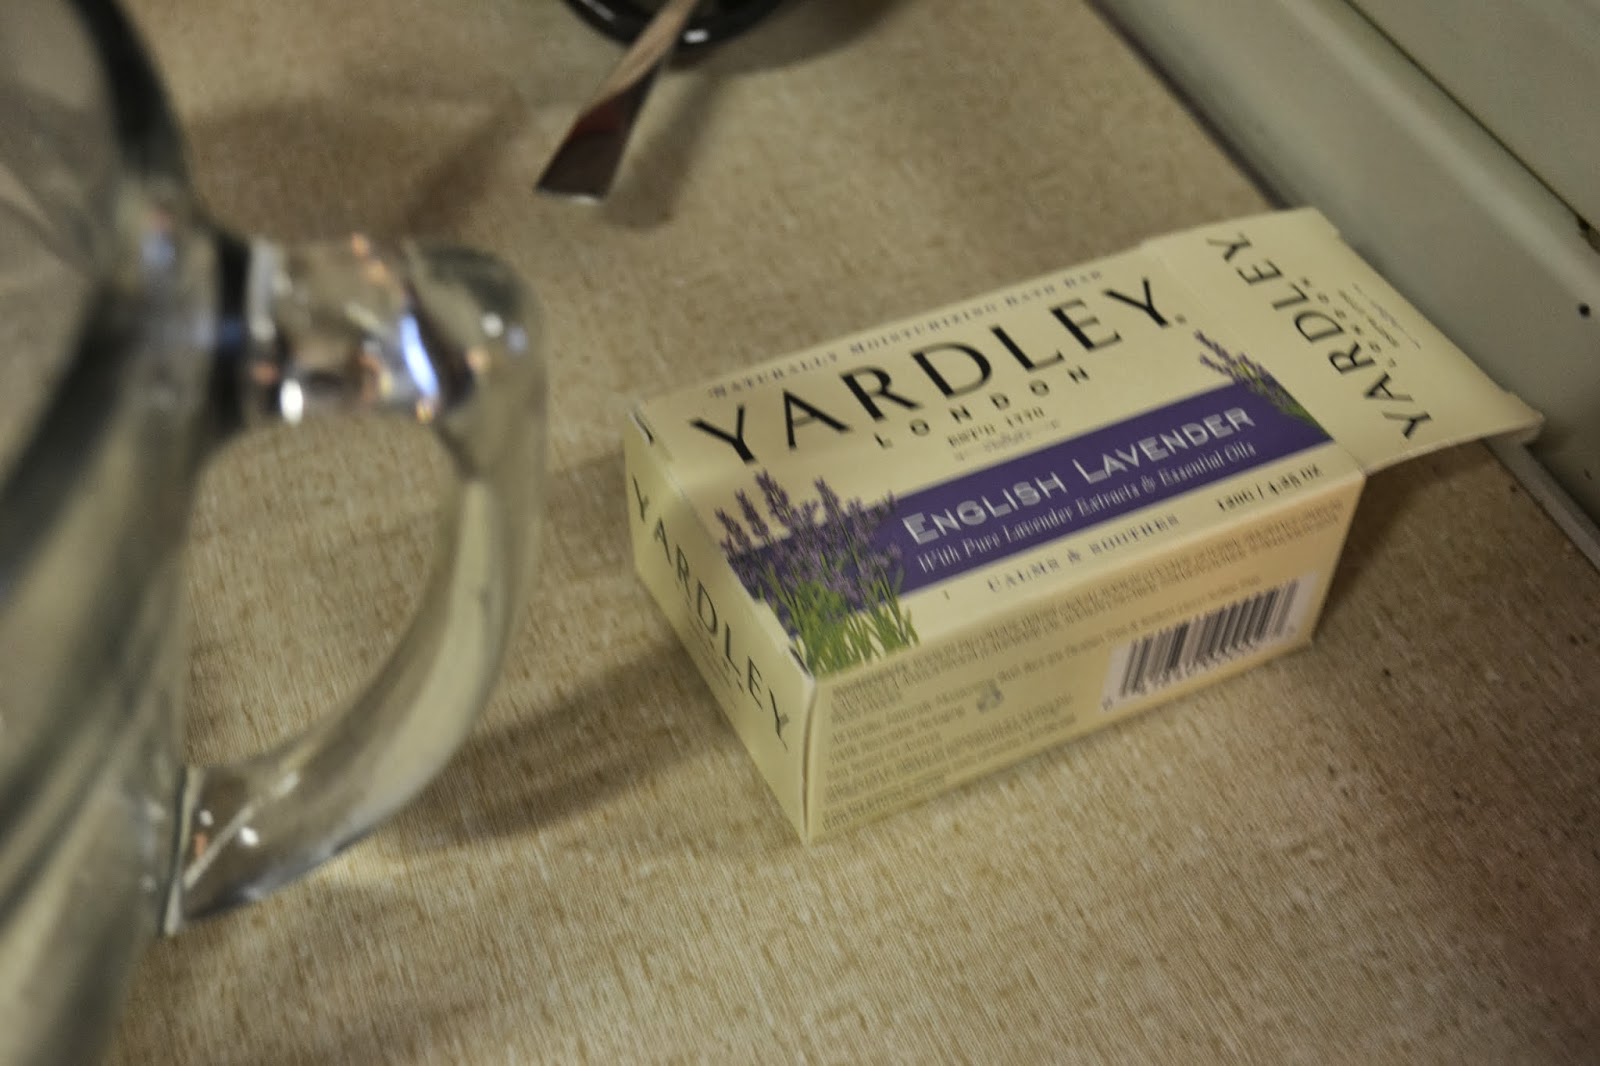
1 1/2 bars of Yardley soap (also found at Target or Wal-Mart)
3/4 C Borax
3/4 C Washing soda
2 gallons of water


The first step is the most annoying to do.  With a cheese grater, grate a bar and a half of Yardley soap.  Heat 6 C of water in a large pan--like the kind you would cook a lobster in.  When heated, add the soap and let it dissolve, stirring it to blend.  Next, add the soda and Borax and mix until dissolved.  Add 1 gallon of water, and then 6 C of water.  Let it sit, stirring often until most of the clumps are gone.  The more you can smooth it out here, the smoother it will be when done.  Once it looks basically melted together (there will be some clumps), turn the heat off and leave it alone for 24 hours.  At that point, you can give it a good stir and bottle it.  One batch filled both of these detergent bottles!

Be sure to shake it well before using and it takes about 1/4 C or half of the laundry detergent cup per load.


Sunday, November 17, 2013

Your Pins Tested! Crock Pot Cream Cheese Chicken

I have been seeing many dreamy Pins on Pinterest lately, but end up (like I'm sure many of you do) just pinning them and never going back to try them. So, I have begun a mission of testing out your pins and boy and I am excited!

The first one I wanted to give a go at was this Cream Cheese Crock Pot Chicken, linked to the awesome blog The Larson Lingo.  This recipe had everything my house loves: its quick to prepare and easy, slightly resembles tacos, so I can tell my three year old he is eating his favorite meal-sorta-and I had most of the ingredients handy.  Did I mention how easy it was?

I followed the recipe found over at The Larson Lingo, but changed a few things to cater to my taste buds and what I had on hand.  The first thing I changed was the chicken I used.  I buy large packs of chicken breasts and divide it up in freezer bags with different marinades so I always have yummy chicken ready to toss in the crock-pot. For this recipe, I grabbed the one frozen marinaded in Caesar dressing. This was an excellent choice, because it gave the meal just the right amount of zing! 

You'll need:
2-3 chicken breasts (I used frozen)
1 package of cream cheese (I used a Greek yogurt kind and it was great)
1 can black beans
1 jar salsa (I used peach salsa)
1 package frozen corn (I also threw in some peas because I had some leftover in the fridge)

I put the crock-pot on high and threw it all in.  I left it alone for a few hours, stirred, and once the chicken started to shred, I knew it was close. Total, I'd say it took about 5 hours on high.  About 25 minutes before we ready to eat, I took the lid off so it would thicken a bit and then served it over jasmine rice, topped with cheese and sour cream.  It was so delicious! I am definitely making this one again.

Tuesday, November 5, 2013

Gluten Free Chicken Pot Pie Stew

One of our favorite meals is chicken pot pie.  As a gluten free-er, you probably understand how annoying and time consuming it is to make a pie crust for it, so I cheat when my house craving this comfort food.  One way is to use gluten free Bisquick on top as biscuits, and another is to make the stew inside and top it with cheese.  Either way, boy is it delicious.  Here's what I do for the stew.


What you'll need:
2 cooked chicken breasts-diced, shredded, however you like it
1 diced onion
1 tbsp basil
1 tbsp minced garlic
2 tbsp butter
1 tbsp olive oil
1 tsp dill
sprinkle of thyme
salt and pepper to tastse
1 cup 1/2 & 1/2
32 oz gluten free chicken broth
1 small package of celery, chopped, with leaves too
about 5 carrots, chopped
1/2 a package-a whole package of frozen corn (depending on much you love it!)
1-2 diced potoates
1 bag of boil in bag white or jasmine rice

What to do:
In a large pan, saute the onion, basil, garlic, dill, thyme, salt and pepper with the butter and olive oil.  Let this cook for a few minutes, but be careful not to burn the onion or the whole soup will have the burnt taste.  add the celery, carrots and potatoes and cook for another couple of minutes. 


Add the half & half and chicken broth and slowly bring to a light boil.  Add the cooked chicken.  Reduce heat to simmer, cover and let cook for a couple hours.  Basically, its done when the veggies feel done, but I find letting it simmer a little longer than needed gives it that extra yummy taste.  About 25 minutes before you are ready to turn it off, throw in the boil in bag rice (without bag, just toss it in).  Let it cook and soak up some of the soup.  If you like your stew a little thicker, you can add a little corn starch. 


I was too lazy this batch to make the pot pie part, so I topped it with some cheese, let it melt a little and enjoyed! My three year old also loves this.  Have leftovers? Throw it in a freezer zip lock and put it in the freezer for later!

*For this particular batch, I had a bunch of stuff in my fridge I wanted to use up, so I improvised some and used what I had.  The chicken was leftover honey mustard chicken, and the veggies were from a previous night's dinner. Use what have to waste less and save money. 

Wednesday, October 30, 2013

5 Ways to Keep Your Crafting Space Organized


As a crafter, I am always needing ways to organize my stuff.  I have yarn, tapestry needles, buttons, you name it, everywhere!  Naturally, as a DIY-er, I wanted to come up with storage solutions that were:
1. budget friendly/free
2. recycled materials
3. fun to make and look at


Ever seen those yarn containers at the craft store? I actually own one and love it, but they can run around $17 for one.  I made this one out of a large coffee container.  Be sure to clean it and let it dry all the way.  Remove the outer label and either stencil, paint or cover with a paper/washi tape.  You can have so much fun with these!  Another great container to use is those big oatmeal ones. 


To keep my buttons organized (note: they were
organized at one point until my three year old got
into them) I use a tea box.  I found this one, filled
with tea of course, at Bed Bath & Beyond, but
I imagine you can them pretty anywhere tea is
sold. 
I also like to use cigar boxes to keep random items in, like pens, sharpies or whatever else I have lying around my workspace.  These are so cheap at any cigar shop.  They usually run $3-$5 a box and if you're lucky you can find some awesome printed ones.


I found myself constantly looking for my handy knitting and crochet notions, so to keep them all together I keep a stash in this small bag.  I made this one, but you can use any cosmetic bag or clutch.  I always have a tape measure, tapestry needles and scissors handy.  My needles and hooks are usually kept together in a case, but my go to ones are kept in here too.  
 After losing more tapestry than I can count, I finally put them in an old prescription bottle.  This one I covered with washi tape, which you can find for pretty cheap at Wal-Mart in the office supply section. 

 I am always looking for more ways to stay organized!  I also keep my yarn in baskets or bins, my fabric in a large wicker chest and on shelves in my workspace.  What ideas do you have? Please share them so we can all stay organized!


Tuesday, October 8, 2013

Tips For Keeping a Gluten Free Kitchen

If your house is like mine, where not everyone is gluten free, you may have encountered some of the issues I have when attempting to keep my kitchen gluten free and prevent cross-contamination.  Here are a few things I do to prevent accidentally being glutenized.

1. Keep everything separate!  No brainer, right? But sometimes, especially when guests are over, its hard to remember what is what, so label everything.

2. Keep two butter dishes, one that has been glutened and one that is 100% gluten free.  We have a flowered one and a plain colored one, to remind ourselves that the flower one may have flour (gluten).

3. Buy squeeze bottle condiments.  Mayo, especially is at high risk of having that bread filled knife poison it, and unless you want to have two mayos and label (we do this sometimes), then squeeze bottles are great.

4. Either avoid the toaster/toaster oven all together, or have two.  I don't put any of my food even remotely near our toaster oven, and we lack the adequate counter space to have two, so I use the oven or a frying pan to toast my gluten free items. 

5. Have a designated gluten free bread maker.  Never, ever, let a "real" loaf of bread in your machine, because even if you wash the pan, you never know where that gluten could be secretly hiding. 

6. If you can avoid it, keep "real" flour out of your house.  I never have it in mine, because we don't use it, and the risk of accidentally grabbing the wrong one isn't a risk I want to take.

7. Remind your family to always wipe down the counters after using anything involving gluten, so you don't contaminate your foods on accident.  


*Photo source: http://www.befreeforme.com/blog/?tag=general-mills-gluten-free-products

Tuesday, October 1, 2013

Weekly Cleaning Schedule to Make Your Life Easier

I've been noticing for some time now that I always seem to be cleaning. As you probably can relate to, it just never ends.  There will always be laundry to do, dishes to clean, floors to wash.  In an attempt to lessen my burden and stop the constant cleaning game, I started implementing this weekly cleaning schedule.  No, I don't always stick to it exactly, and you may need to tweak your schedule a bit (like if you have a big family, you may need to add a laundry day), but so far, it has been great. It takes the pressure to get it all done off of me, because I know that the bathrooms are for one day, and the dusting for another, and so on. So here it is! 
 

Monday: Laundry, vacuum, all trash out of cans and to the outside (I do trash this day because my trash pick up is Tuesday mornings)

Tuesday: Kitchen, mopping, dusting

Wednesday: Laundry, vacuum, trash cans emptied and out

Thursday: Bathrooms (including showers), pick up the living room

Friday: Clean kid's room(s) and pick up toys around the house

Saturday: Laundry & trash cans emptied

Sunday: Baking for the week/meal prep, change sheets in all bedrooms


Do you have a cleaning plan that you follow?  If so, I'd love to hear about it (comment below)!  You're house might find some chores are harder to keep on than others. In my house, keeping the trash cans empty is a big one, since we are house training a puppy and potty training my son.  Laundry has been a biggie since my poor drier is out of commission and I've been line drying for months and vacuuming is a constant necessity, again, toddler and dogs.  But all in all, if I keep to my plan, it works fabulously! 

In case you are wondering (I bet you're dying to know!) there are some cleaning products I love and swear by.  I'm a budgeter through and through, but some things I just don't cheap out on.  Here's some of my favorites:


Dawn Ultra AntibacterialFor my shower cleaner, I have never found a better system than mixing Dawn dish soap with white vinegar and putting it in a spray bottle to spray, scrub and rinse in the shower.  The smell can be a bit over powering with the vinegar, but it cleans like you wouldn't believe.
I know I have mentioned Mrs. Meyer's Clean Day before, but I love their products so much.  They smell amazing, and the bottles can be re-used by buying the concentrated solution and mixing it with water as per instructions on the bottle.  I've found these products in Target, Wal Mart and sometimes Hannaford, but their website has a tons of scents and other products too.  Geranium is my favorite so far, but they are all so good.  Want to try before buying? Ask them for a sample of something.  I did and now I'm hooked!


Original with Clean Boost Liquid Laundry DetergentI am going to start making my own laundry detergent after trying my sister's homemade kind (post coming as soon as I make it!), but my all time favorite detergent is the slightly pricey Gain.  I find it works best, smells best and just is the best.  Though my budget doesn't allow for it, if I have a coupon, this is what I go with.  I also love the Gain/Mr.Clean floor cleaner:
Original Mr. Clean with Gain Scent  Multi-Surfaces Liquid Cleaner

Tall Kitchen ForceFlex® Drawstring Bags packaging product imageThese garbage bags are awesome.  I never thought I would have a favorite one, but these don't break and can hold the weight of heavy garbage loads, making it easy to stuff as much as possible into them.  They certainly aren't the cheapest option out there, but it sure beats having them break and needing to double bag!


Here's a former post about keeping the house clean during the holidays, which are right around the corner!
© Chronicles of a Knaptime Knitter. Made with love by The Dutch Lady Designs.
01 09 10