Tuesday, August 11, 2015

My Closet Downsize-Part 2

If you read part one of this series, then you know I've been downsizing our wardrobes.  I started with my closet, and hope you are enjoying the purging of your closet as much as I've enjoyed it with mine. So, you may have these piles kicking around, and wondered what happens next.  Here's some things I do with pieces I'm parting with:


1. One of the easiest things you can do is to consign them.  Look online for local consignment shops in your area and set up an appointment.   I have one I use for kids and baby items and another for my pieces.  Keep in mind, shops can be very particular about what they take, so freshly washed, ironed and on hangers helps when you go to your appointment.  Bring in season, or if the season is about to change over, ask them if they'll take the next season as well. 

2. Start an Instagram shop.  I did this last year and it was very very VERY slow to start, but then, as I grew my customer base, it got much better.   I have so much fun in my Insta shop, because I not only get to make some money off clothing we are no longer using, but I can shop other stores too.  I love knowing that when I purchase from other Insta stores, it's going straight to the owner.  My shop is called @ShopThroughTheHeart and I mostly sell from my own personal closet, but also post some baby and kids.  Occasionally, if I find some really great thrifted treasures, I also grab those to post.
Since I started my shop, I've sold almost 300 items, which is great when creating my kid's next size wardrobe. 
 
 I scored this amazing tee for my girl on an Instagram store for $7!


3. ThredUp. You may have seen other posts about ThredUp here on my little blog, because I am a little obsessed.  I sell to ThredUp as a last chance before donating, since you don't get much return on items.  You can never really tell what they will or will not take, so if I'm going to donate anyway, I send it in to them so they take what they want to sell and donate the rest.  I send in a bag, and only get an average of $20, but hey! that's $20 in my Pay Pal or to spend on their site.

I got this amazing silk Odille dress from ThredUp for an unbeatable price ($30!):


If you've never ordered a clean out bag from them, you can do so here (it's free!).

If you've never shopped with them before, you can get a free $20 to shop with this link. When I first signed up and shopped, it was only $10, so you're getting a killer deal!  Here's an item I sent in, that could be yours for FREE with your credit (picture is from ThredUp):
https://assets-thredup.insnw.net/assets/20459853/original.jpg

4. Donate. This is the quickest and easiest thing to do with your unwanted items.  Drop them in a donation bin, at a church, or to Goodwill.  Many places will give you a receipt so you can deduct your donation from you taxes, all you have to do is ask.

-------------------------------------------------------------------------------------------------------------------------

Stay tuned for part 3 of this series, which is where the fun begins: shopping for and building your dream wardrobe on a budget!

Tuesday, July 14, 2015

Christmas in July at Crooked By Design


It's time for Christmas in July!! Head on over the shop and get your order in while the sale is going on. Ends on Friday July 17th!


Wednesday, July 8, 2015

My Closet Downsize-Part 1


I'm on Pinterest a lot.  This started when I was pumping/nursing for my daughter, something to pass the time, and now continued because, frankly, I just love Pinterest.  One thing I've been seeing a lot about is downsizing your closet and de-cluttering your life.

Tripping over toys, losing things in the laundry, being a slave to the house.  These are all things I can't stand.  So I decided to find a jumping off point, and go for it.  Operation: DE-CLUTTER!


I started with my closet because it seemed like the easiest and most fulfilling place to begin.  I read a lot of stories about how people tackled this project and the main thing that stuck out was to take everything out of your closet and as you put things back in, evaluate the pieces. For this step, only worry about your actual closet.  Ignore any dressers or anything else you have for clothing storage.  You will get to that later.

Depending on the size of your closet, this could take awhile!  But you can do it.  My closet is very very small, which is one of the main reasons for doing this purge.  I just don't have the space.

When you pick up an item to put it back in your closet ask yourself these questions:

1. What is my first reaction when I'm holding this?
Do you want to put it on right that second because you love it so much? Would you miss it?  Or even notice it wasn't there anymore?  If you don't burst with love for it, you probably won't miss it.

2. Does it fit?
This seems strange, I know.  It's in your closet, probably it fits.  But if you're a mom like me who has two kid, or you've had clothing for a long time, than you might find you've been not wearing it because it just doesn't fit your body anymore.  Maybe it shrunk, maybe your tastes have changed.  Whatever it is, if it doesn't fit, for whatever reason, put it in the get rid of pile.  Do not, I repeat DO NOT put it back in your closet.  You can do this, stay strong!

3. Why haven't I worn this?
I know you have some pieces in your closet that you overlook every day.  We all do.  Ask yourself why you don't choose it.  Depending on the reason, you can evaluate whether or not keep it, but also learn a little about your current likes and dislikes of what you're looking for in a wardrobe.  If it needs to be hemmed, or something simple like that, keep it.  If there's other reasons, like you don't like the color, etc. then put it in the get rid of pile.

4. Is it the right season?
If you have wool sweaters in your closet in the summer, it's just taking up space.  Put those in a storage bin, out of the way.  The more clutter, the more stressful your closet is.  Only keep in season pieces out and put the rest away.

5. Do I have more than one of these?
If you have six white tee shirts, you can safely assume you can part with four or five of them! If you have a bunch of black tanks, get rid of some.  Keep the one, or few you love the most.   

Ok, now that you've done this, look at what's in your closet.  Is it filled with pieces you absolutely love? I bet it is.


So, now that you have all these items you don't want, what do you do with them?  Stay tuned for part 2 of my closet downsize!

Tuesday, July 7, 2015

Nap Time Sewing


Since its summer, my off season, I've been sitting down with sewing machine as much as I can these days.  And boy am I enjoying that!  During the fall and winter months, my hands are constantly moving with yarn and my poor machine gets neglected but not anymore. 

If you follow on Pinterest, you can see my Sewing Board, which is where I get a lot of my tutorials and how I've self taught myself the basics.  I took one class, and intro to get my acquainted with my machine, but the rest I learned from the good old Internet. 

Here are some of the projects I've been working on:


A similar hat pattern can be found here.  


 I have some top-knot headbands in my Etsy shop too!


The navy and white tote already sold, but the flower tote can be found here!

Many of these projects use a knit fabric, something that scared me for a long time.  It's a little tougher to work with, but if you're like me and avoided projects because you didn't want to deal with a diva fabric, you might be surprised at how quickly you get used to it.  Headbands and hats are great, instant-gratification projects that can be done so fast, you will practice you're skills and get a great accessory in the process. 

To see more of my projects, follow on Instagram!

Thursday, June 4, 2015

Kid's Books to Check Out


We have been so busy around here lately, one of our outings that has been neglected is our library days. We are vowing to get back on track on this! Typically, we will visit the library once a week.  The kids love the play area in one of our bigger libraries, and they also love that they can choose as many books as they want.  Atticus thinks he is just about the coolest when he gets to bust out his very own library card and checkout his books. Until, of course, he realizes he has fines and bats his eyes at me to help a book worm out and let him use my card.


The only real problem with our trips to the library, is they LOVE books. They want them all.  But they get lost easily.  One way to avoid the book due date scramble, is to designate a shelf, bin or tote to just library books.  Put them back into one place and keep track of how many you have out.  You don't want to end up like us and get those calls that you still a book you thought your returned!

One of their go-to's is that silly Pigeon!  Atticus thinks these books are hilarious and has some of them memorized.  He loves seeing what kind of trouble that Pigeon is going to get into.


Another favorite of theirs, especially Atticus, is Penguin and Pinecone by Salina Yoon.  This is such a sweet story about a penguin who befriends a pine cone.  He learns they don't live in the same climates, so he has to say goodbye to his new friend.  He visits little Pine Cone, but after a while he doesn't recognize his friend, who has become a tree. 


Penguin and Pinecone: A Friendship Story 


The hands down favorite book of all time in this household is actually a Thanksgiving book, but we read it all year long.  The Ugly Pumpkin by Dave Horowitz is the story of a pumpkin who doesn't get picked and as he's walking his way through Halloween, sans family to call his own, he is feeling down and alone.  Then he discovers something about himself.  It's a terrific story, even when it isn't Fall.


The Ugly Pumpkin: A Thanksgiving Story 


For even more book ideas for your kids, check out The Mommy Stories post about their trip to the library! 

Do you have a favorite kids book? Give a shout! We would love to check them out, too.

_________________________________________________________________________________
Stay Connected:

To hang out with us some more, follow @KnaptimeKnitter on Instagram!


Tuesday, May 26, 2015

Homemade Counter Top Spray With Essential Oils


Having pets and kids has made me so much more aware of what I use, both with cleaning products and body care.  I began making some of my cleaning products for that reason, and also because it is a lot cheaper to use what I have on hand.  I took to Pinterest and searched away.  Because I wanted to use what I already had in the house, I used this recipe and tutorial. I loved the printable that came with it too! You can also find the Pin here.


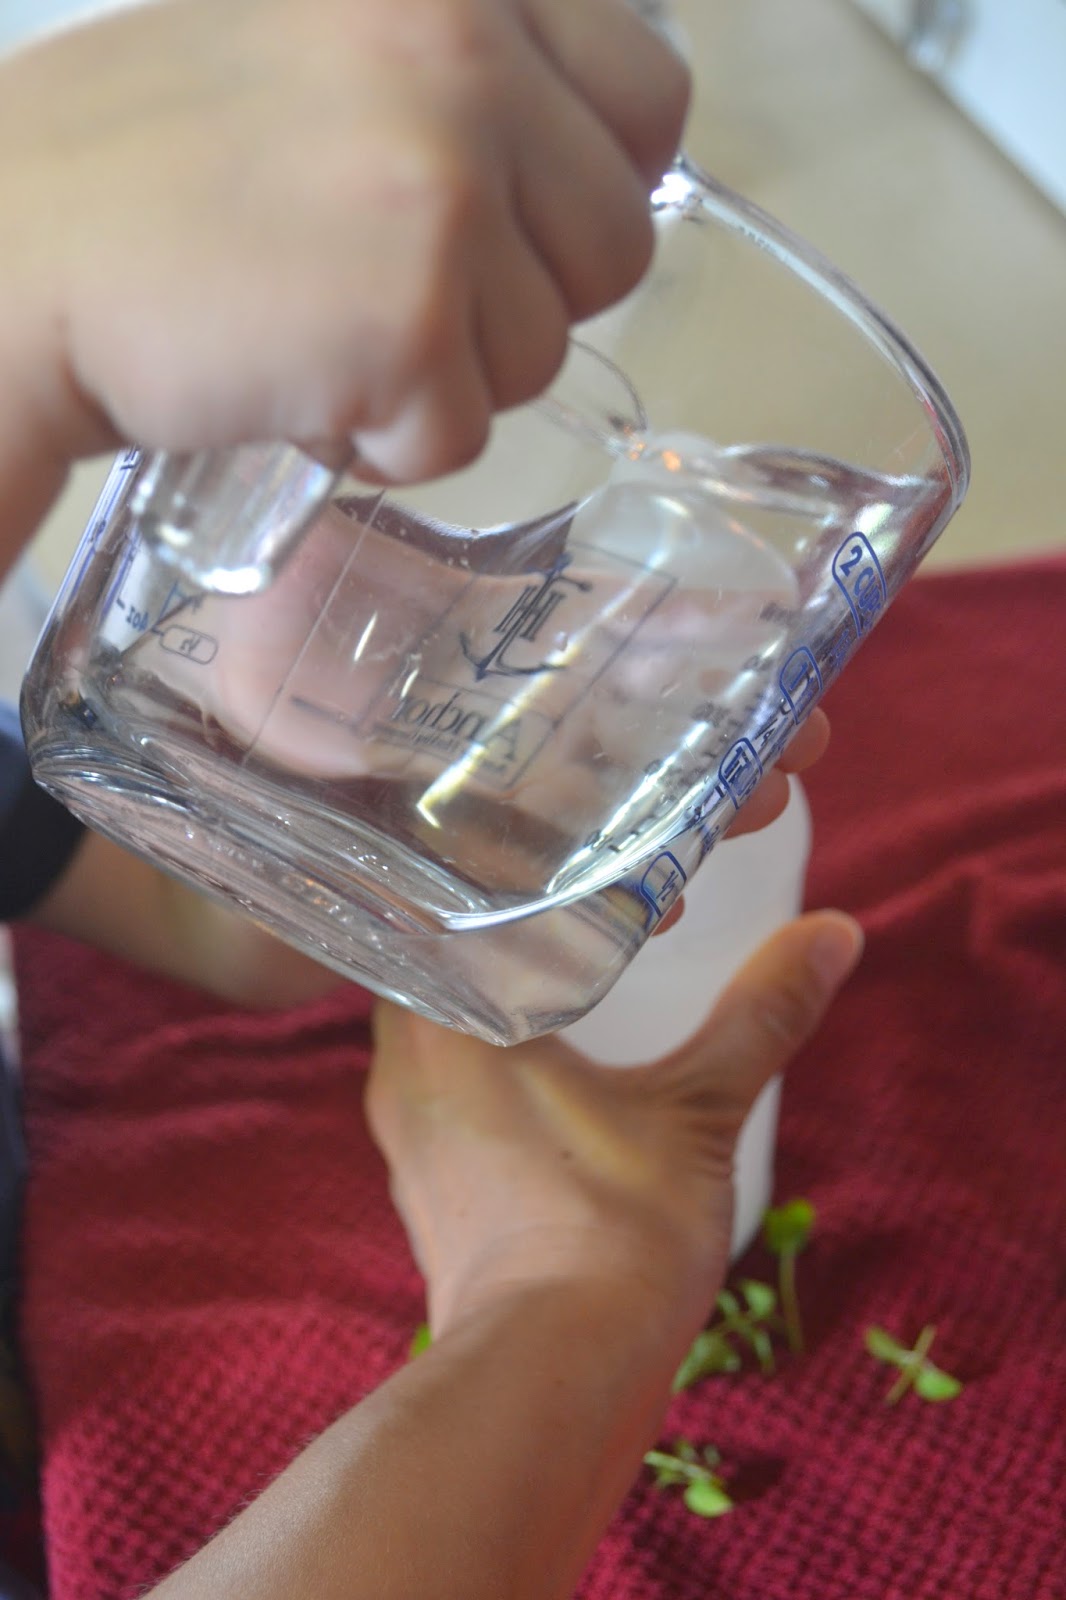
First, I gathered all my ingredients and my helper.  I didn't have mint essential oil on hand, so I used some tea tree oil since it is used for cleansing.  Well, that's the bottle says, and I've used it before and seems to work so I used it again.  I did add some fresh mint this time (only because I had so much overflowing from my herb garden).  I don't know if it really did anything different but at least I used some up.  I used Dawn for the dish soap, because it is my go-to and I find it works better than anything else. To make it even more natural, you could use an all natural dish soap instead.


I let my helper do most of the work.  His favorite part was giving it a good shake at the end and the thumbs up let me know we were ready to clean!  And judging by the background of that thumbs up pic, my house needed a good cleaning.

**I believe you can order bottles online, but I like to be super thrifty so I used some leftover bottles that I had from Mrs. Meyer's Clean Day spray. 

To see more of our projects and DIY fun, follow @KnaptimeKnitter on Instagram!


Monday, May 11, 2015

Money Saving Monday-5 Things to do This Week

Happy Monday! Let's start it off right with some money saving tips to try this week:

1. Do you ever have those "I'm so proud of myself" moments where you want so badly to buy something, but you resist?  That pair of shoes, that amazing top, that hardcover book.  This happens to me a lot and it is hard to resist sometimes.  Something that makes it a little easier is to take that money I didn't spend, even it it's $5 saved not going to Starbucks, and put it somewhere meaningful.  Have a credit card you're paying off? A student loan? A savings account or a savings for a special house project (for us it's a fence)?  Put that money there!  You'll be surprised how quickly you forget about those things you didn't buy, especially when you see your monetary goals being realized.

2.  Remove the temptation to spend.  Do you get those millions of emails filled with deals claiming they will never be back (they will)?  Or those special coupons just for you that you have to you use? I mean come on! It's just for you! It's not. Every day I would wake up feeling so overwhelmed when I checked my email.  Instead of a positive step to get me saving, I was bombarded with retail peer pressure to spend.  I did the only thing I thought would help and clicked that liberating UNSUBSCRIBE button.  It takes a little while to kick in, but its wonderful to not have all those offers staring me down.  They are great, don't get me wrong, I'm a girl who loves a sale, but I can't have them all. 

3. Meal plan.  I'd like to tell you that I do this all the time.  That I plan it all out, and make my list with my coupons and get my cash envelope (so I won't go over budget) but that isn't true.  However, I am working on it.  I get a general idea of what we will eat for the week, and when I go grocery shopping, I get our essentials that we use and run out of weekly (like milk, eggs, etc) and then what I need for the meal plan.  If you can sit down with Pinterest and really make a plan, it will save time and money, and then you should come back here and tell me about it so I can be inspired to do it more.  Before I decide what we are going to have, I look at what's in the house. Sometimes we say we have no food and need to go grocery shopping right away, and then I look, really really look, and realized there are many options hiding in the pantry, fridge and chest freezer. Be creative and use what you have before buying.  You'll be surprised how much you actually have to eat!

 (Bow tie optional Build Your Own Burger Night)

4. Shop your own house.  This is one of my favorite things to do.  We change things around at our house a lot.  Because we live in an old home, we are working on updating (very very slowly) and to make things fresh on a tiny budget, and I like to shop my garage, or basement, or even other rooms and see what I can come up with add some flare to a room. Change the purpose of an item.  One of my favorite things to use for this is hanging fruit baskets. I have one in my office for sewing supplies and one in my bathroom for use as a catch all over the counter.  Re-purpose and use what you have, and if it isn't working, then go on the hunt for what you need.  (That's an old church pew below).


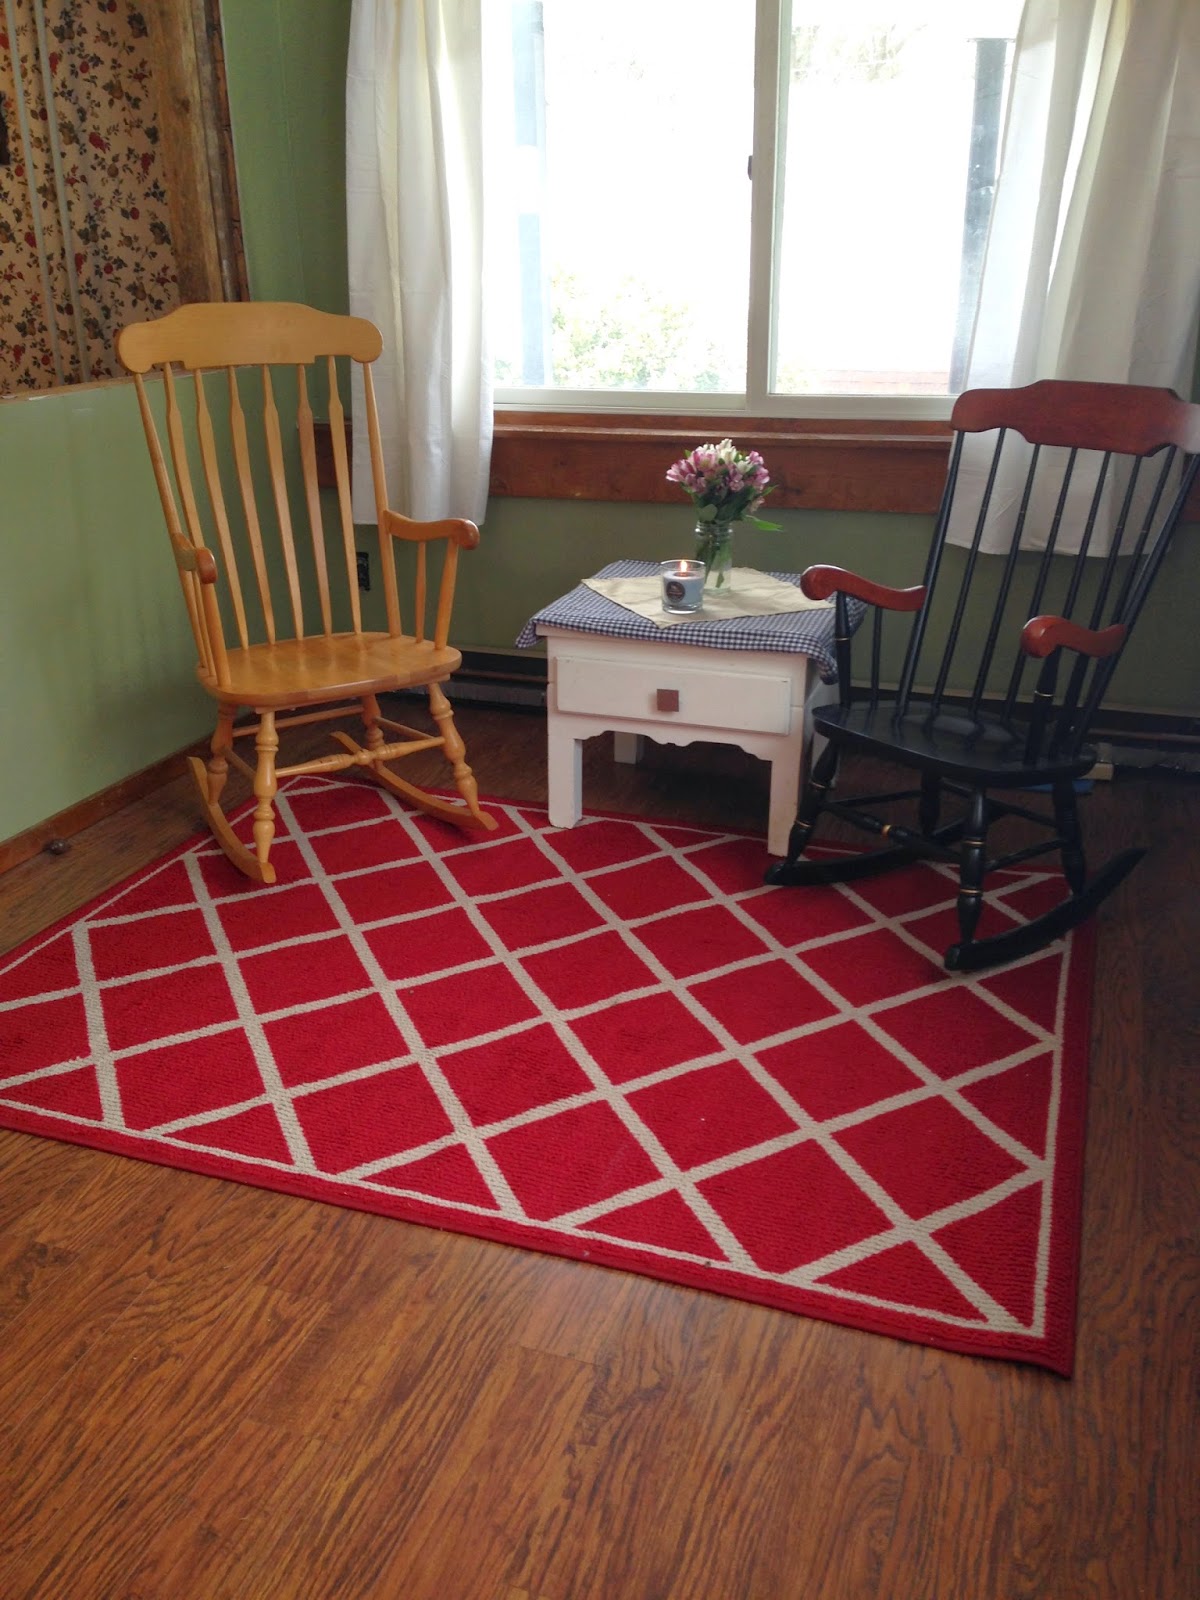
 (Before and after of one of our recent house projects, the sun room.  I shopped our house to furnish and decorate most of it.  It isn't done yet, and some was temporary until we buy furniture, but you get the idea)


5. Use up all your bath, body and beauty supplies before buying any more.  This sounds odd, I know. You're probably thinking, "But Amanda, if I have shampoo still, why would I buy it?"  Look under your sink. Look in your other bathrooms if you have them.  I bet you have some there, just waiting to be used.  Lotions, I know you have a million.  Use them!  Once you have purged your bathroom of all of them, then you can buy more.  Saves money, and reduces waste.  And you'll probably smell really good.

Do you guys have any tips on saving money? I'd love to hear them! Give a shout!

And to see more of our projects and gluten free meals follow @KnapTimeKnitter


Wednesday, April 29, 2015

Naptime Sewing-Summer Dress (Link to Free Pattern)


After a very long winter of knitting and crocheting, I was dying to break out my sewing machine.  The poor loyal friend had been hidden away in my office for months, begging to be used.

I consider myself a beginner. I have had two formal classes, only one of which I actually turned on my machine.  I can do the basics (totes, headbands, basic skirts, pillow cases) and I was ready for something a little more challenging.

Naturally, I went to Pinterest.  I have a few store bought patterns I wanted to use, but I am a visual learner, and I find I can better execute the instructions when I have a tutorial.  I found this pin and got to work (during nap time, of course).


A couple notes about this dress pattern.  When you download the free pattern from Craftsy, it only has one part and this had many (including myself) confused.  Be sure to read through the directions before starting.  You cut another piece for the skirt portion, and the straps, but it isn't in the PDF because you just measure it.  So do not be alarmed when you go to print and it isn't there.

The pattern comes in one size.  I simple cut mine a little bigger to accommodate my girl.  I'll be honest, I didn't measure.  I also made mine the dress length the pattern calls for, so it would be a longer shirt on my girl (who is 12 months).


And finally, I found it somewhat hard to get on and off her with the straps on the orange dress, something I attribute to the pattern being a smaller size, and my daughter having an enormous head.  Two things could have solved this: putting them further apart/thinner, or simply cutting the top portion bigger so there was a wider opening.  On the purple dress, I opted for tie shoulders and it did make it a bit easier.


I also suggest possibly adding some elastic thread to the waist so she can wear the dress for longer, as a shirt.

I really enjoyed making this. It was that quick project that I craved, and there was the instant gratification of seeing my daughter wear it.  Naturally, she went out in the Spring grass and got herself all dirty moments after snapping these pictures, but at least she waited until after! 

To see more of my projects, follow along on Instagram: @KnaptimeKnitter


Tuesday, April 28, 2015

ThredUp, An Addiction

Recently I began to down size my wardrobe in an attempt to organize my house, simplify things and fill my closet with only things I 100% love.  I usually would just take my unwanted items over to the consignment shop, but its a half hour away and with two small children, sometimes that wasn't something I could do easily.  I also don't like the inconvenience of having to make an appointment.

Then, I discovered ThredUp, after my sister sent me a link with a free $10 credit to give it a try.  What's better than that?  So I looked at the site, thinking I probably would use my credit and then forget about it.  I'm here to tell you, I haven't.

Basically, it's a giant online consignment shop, a thrifters dream.  You can create an account and then customize it to fit your likes and sizes.  For example, I love Anthropologie but can't afford it, so I set my ThredUp to show me their brands in my size so I can see what's available. 

Now, back to the down sizing portion of this post.  I ordered a ThredUp bag, filled it with items I no longer wear, and sent it in. I've actually done this twice now.  They take what they can sell and donate the rest. You can get the rest back for a fee, but I opted out of this.  You don't get a ton for your items, but since their prices are so reasonable, you can use your credit to get something else, or wait 14 days and it can be deposited to your PayPal.  I love this because it is so easy and it costs you nothing to send it in!  They even take kids and baby items, which is fantastic when trading up for different sizes.

The quality of the items is amazing, and they recently started accepting free returns. 

If you are ready to give it a try and want the free $10 that got me hooked, you can use this link here. Place your first order and then tell all your friends, and when they order you'll both get the $10 credit. You can literally get something for free here, friends, go try it out!


© Chronicles of a Knaptime Knitter. Made with love by The Dutch Lady Designs.
01 09 10